Polaris Maintenance Schedule

Maintenance makes all the difference. A few hours in the garage every few months will save you from having to spend thousands when catastrophic failure inevitably strikes—and as we all know, it happens at the most inopportune times, i.e., when you're at the farthest stretch of your ride preparing to head back to camp.
In this guide, we are going to talk about all types of maintenance on your Polaris UTV, whether it’s a Ranger, General, or RZR. We’re covering general maintenance, improv fixes that pop up before, during, or after a ride, plus scheduled maintenance, the type that requires a bit more forethought and is best done in the comfort of your workshop.
First, we’ll cover the former type—general maintenance.
General Maintenance
Consider this ‘field maintenance,’ as it’s performed on an as-needed basis. Most of the time, we can find and address these problems with a pre-ride inspection, but not always. This is why it’s a good idea to always carry basic tools: adjustable wrenches, screwdrivers, pliers, and some cable ties. For RZR owners that don’t have much built-in cargo room, StarknightMT can give your sports machine a lot of added utility.
While the factory specifies a service timeframe for the following areas, these are simply maintenance items that can be checked and/or changed every time you ride.
Air Filter
Make a habit of checking the engine compartment before riding. One of the first things you should check while in there is the air filter. The factory filter element is non-cleanable, meaning if it has a buildup of crud, it needs to be changed. While you’re there, it’s a good idea to clean any debris from the induction box.
Greasing Your Polaris Bearings
If you have a look at the undercarriage of your side-by-side, you’ll spot several grease ‘zerk’ fittings; these allow you to quickly and easily grease your sway bar, carrier bearing, and wheel bearings.
You’ll need a grease gun to fill them; wheel bearings require a special tool.
How often should you regrease? As often as you can. Grease is relatively cheap compared to changing wheel bearings. Add grease at least once every few months.
Pre-Ride Inspection
Nothing is worse than running into complications on the trails. To avoid catastrophe, we put together a checklist of common and easily fixable faults.
Tires
Tire pressure can change based on temperature, even without a leak. Colder weather can leave your tires below the recommended spec. The first thing you should check is pressure, ensuring they’re correctly filled for your UTV’s recommended PSI.
It’s also a good idea to visually inspect the tires for defects. Look for foreign objects (think of screws and tacks) or sharp stones lodged in the tread.
Fluid Levels
Make sure your side-by-side is sitting on a level surface and fully cold. The first thing you want to check is engine oil. This is done via a dipstick, similar to most vehicles. Again, you’ll need to take a peek under the cargo box. Tip: A flashlight can make it easier to read oil on the dipstick.
Under the hood, check the level of the coolant reservoir, ensuring it’s between the min/max. If it's low, simply grab a funnel and some 50/50 mixed coolant to top it off.
The final and most important area to check is your brake fluid. The brake fluid reservoir is visible from the driver-side wheel well. Again, make sure your fluid falls within the min/max levels.
If low, some more investigation is needed: check the braided steel lines for aberration and kinks, check the calipers for damage, feel the brake pedal for pressure, and finally, if everything checks out, top off the fluid. If issues recur, you’ll need to investigate the brake master and/or slave cylinder for issues.
Last but not least, don’t forget gas!
Lights
Turn the key to the first ignition position. Check the headlights, both low and high beams. Check that the taillights and brake lights are working properly; you might need a friend to press the brakes while you look at them.
Post-Ride Inspection
When you get back after a long day of riding, the first thing you’ll want to do is crack open a cold one and find the nearest jacuzzi. And that’s actually what you should do! Riding is tiring work. But, after some R&R, it’s time to assess the ‘battle damage’ and see if there are issues that need to be addressed.
A post-ride inspection will mostly follow the procedure of a pre-ride inspection but with emphasis on different areas.
Sometimes it’s good to perform your post-ride inspection after a day or two, not only for your sanity but also if you were riding in wet conditions; you give the bike a chance to dry out. Consider this ‘strategic procrastination.’
Fluids
The exception to this is with the brake system. Brake fluid is extremely corrosive and any problems should be dealt with immediately. Repeat the pre-ride inspection process, first checking the brake fluid reservoir. If the level is the same, you’re good to go. If not, thoroughly check the brake lines and their banjo-style connections for any fluid leaks.
If you spot any areas damp with brake fluid. It’s time to drop what you’re doing and take care of it. Use brake cleaner, acetone, or a similar solvent on a rag to clean up the fluid—if left, brake fluid will quickly eat through any paint. With the immediate danger avoided, you can diagnose the issues and repair it yourself or take your Polaris to a service center.
Coolant and engine oil can make a mess of your floor, but don’t wreak havoc the same as brake fluid; you need to give the bike time to cool before you can safely and accurately check them. Check the levels the same way you did in your pre-ride inspection. While you're at it, check the undercarriage for leaks.
Checking the fluids after a ride is vital. While not as pressing, this moment is a good time to once again inspect your tires and lights and generally look for anything that’s vibrated loose during the ride (check: cargo, suspension, etc.). It’s better to strike while the iron is hot rather than have a nasty surprise when you do your next pre-ride inspection. Tip: Don’t bother adding fuel—who knows when the next ride will be, so it’s best to add fresh gas right before you head out.
After a quick inspection, your rig is ready for a wash and the next outing.
Routine Maintenance

Beyond doing maintenance as needed, you’ll want to stay up to date on your routine scheduled maintenance. You can follow these schedules for your Polaris General, Ranger, or RZR to ensure your vehicle stays in tip-top shape.
Polaris General Maintenance Schedule
|
Part |
Maintenance hours |
Time since last service |
Maintenance miles |
Service required |
|
Air filter |
10 |
Before every ride |
- |
Clean and replace the filter element if needed |
|
Brake pads |
25
|
1 month |
500 |
Measure pad thickness, replace if needed |
|
Battery |
25
|
1 month |
500 |
Test the voltage, clean the terminals, and replace if needed |
|
Drive belt |
100
|
6 months |
500 |
Check tension and adjust if needed, replace if needed |
|
Engine oil & filter |
100
|
6 months |
1,000 |
Change oil; use genuine PS-4 kit |
|
Spark plugs |
100 |
12 months |
1,000 |
Replace |
|
Wheel bearings |
100 |
12 months |
1,000 |
Grease; replace when excess noise/play is observed |
|
Gearbox/ differential oil |
200 |
2 years |
2,000 |
Replace gear oil using genuine fluid |
|
Clutch |
300 |
3 years |
3,000 |
Replace clutch |
|
Coolant & brake fluid flush |
- |
5 years |
- |
Replace fluid with genuine fluid |
Polaris Ranger Maintenance Schedule
|
Part |
Maintenance hours |
Time since last service |
Maintenance miles |
Service required |
|
Air filter |
10 |
Before every ride |
- |
Clean and replace the filter element if needed |
|
Brake pads |
50
|
- |
500 |
Measure pad thickness; replace if needed |
|
Battery |
25
|
1 month |
500 |
Test the voltage, clean the terminals, and replace if needed |
|
Drive belt |
50 |
6 months |
500 |
Check tension and adjust if needed; replace if needed |
|
Engine oil & filter |
100
|
6 months |
1,000 |
Change oil; use genuine PS-4 kit |
|
Spark plugs |
100 |
12 months |
1,000 |
Replace |
|
Wheel bearings |
100 |
12 months |
1,000 |
Grease; replace when excess noise/play is observed |
|
Gearbox/ differential oil |
200 |
2 years |
2,000 |
Replace gear oil using genuine fluid |
|
Clutch |
600 |
3 years |
6,000 |
Replace clutch |
|
Coolant & brake fluid flush |
- |
5 years |
- |
Replace fluid with genuine fluid |
Polaris RZR Maintenance Schedule
|
Part |
Maintenance hours |
Time since last service |
Maintenance miles |
Service required |
|
Air filter |
10 |
Before every ride |
250 |
Clean and replace the filter element if needed |
|
Brake pads |
25
|
6 months |
500 |
Measure pad thickness; replace if needed |
|
Battery |
25
|
6 month |
500 |
Test the voltage, clean the terminals, and replace if needed |
|
Drive belt |
50
|
12 months |
1,000 |
Check tension and adjust if needed; replace if needed |
|
Engine oil & filter |
50
|
12 months |
1,000 |
Change oil, use genuine PS-4 kit |
|
Spark plugs |
50 |
12 months |
1,000 |
Replace |
|
Wheel bearings |
100 |
12 months |
1,000 |
Grease, replace when excess noise/play is observed |
|
Gearbox / differential oil |
200 |
2 years |
2,000 |
Replace gear oil using genuine fluid |
|
Clutch |
200 |
2 years |
2,000 |
Replace clutch |
|
Coolant & brake fluid flush |
- |
5 years |
5,000 |
Replace fluid with genuine fluid |
Signs That Maintenance is Needed
If you perform routine maintenance and generally take care of your rig (that means no catching air off berms), there should be no nasty surprises. However, like any piece of machinery, it’s not 100% predictable. Depending on how and where you ride, some service items might be needed more frequently than others.
Using our 5 senses is a great way to identify problems before they get out of hand. Hearing—can pick up on howling wheel bearings that need attention; smell—can pick up on a clutch that’s prematurely failing; touch—feeling extra vibrations in the steering wheel is a sign that the suspension needs to be addressed; sight—checking for damage or excess wear on anything that lies in plain view; taste—well… probably shouldn’t be used in this instance.
What if you don’t have a mechanic's well-tuned diagnostic sense? Thankfully, modern UTVs have on-board diagnostics (OBD), which can detect certain types of faults without you having to think about it. If you see a check engine light pop up on your instrument cluster, it's easy enough to check the code, giving you useful insight into any potential issues. Here’s how it’s done:
1. Turn the key to the ON position without starting the vehicle
2. Hold the ‘MODE’ button for 2-3 seconds until OPTIONS appears on the cluster
3. Press the up arrow to find DIAGCODE
4. Press MODE once more
5. The fault code is now being displayed; use the arrows to cycle through all codes present (if there’s more than one)
6. Refer to your owner’s manual to learn about the fault code
Conclusion
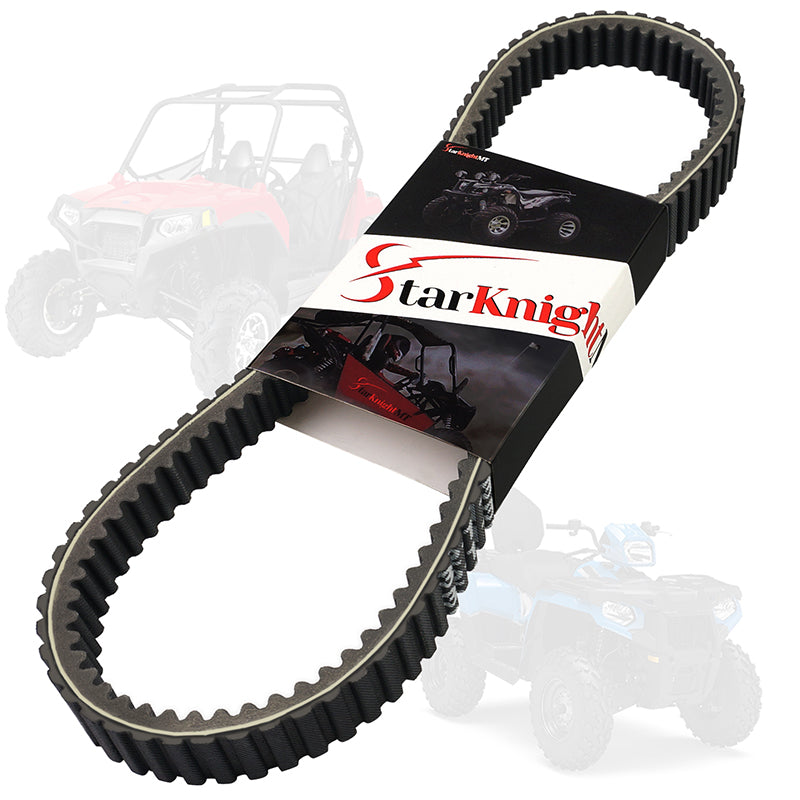
It might not be the most glamorous work, but it will save you a lot in the long run. Don’t skimp out on maintenance. Follow a schedule and do periodic checks on your UTV. When it’s time for service, StarknightMT has you covered with drive belts, clutch covers, and other accessories to make maintenance a breeze.
FAQs
Q1: How do I reset the service icon?
A1: The service icon is a handy reminder of the runtime on your UTV between services. After completing maintenance, you can easily reset it:
1. Turn the key to the ON position without starting the vehicle
2. Hold the ‘MODE’ button for 2-3 seconds until OPTIONS appears on the cluster
3. Scroll through the menu using the arrows until you find SERVHOUR
4. Press MODE again
5. Set the desired hours for the light to reappear
6. Press MODE once again to confirm the next service interval
Q2: How do I reset check-engine codes on my Polaris UTV?
A2: After you have performed the appropriate repair(s), fault codes can be reset by unplugging the negative on the battery. You’ll have to wait a few minutes to ensure any residual charge in the system dissipates. Tip: To speed up this process, press and hold the brake pedal for a few seconds.
Q3: What are witness marks, and how are they useful on a UTV?
A3: While Polaris doesn't use them, some manufacturers use witness marks. These are paint pen marks normally found on suspension hardware. These give a quick visual confirmation that a nut or bolt hasn't come loose.
If you want to add witness marks to your Polaris, all you need is a bright-colored paint pen. Make a dash on the suspension hardware. Check them periodically; as long as the marks line up, your bolts/nuts are still tight.



Leave a comment